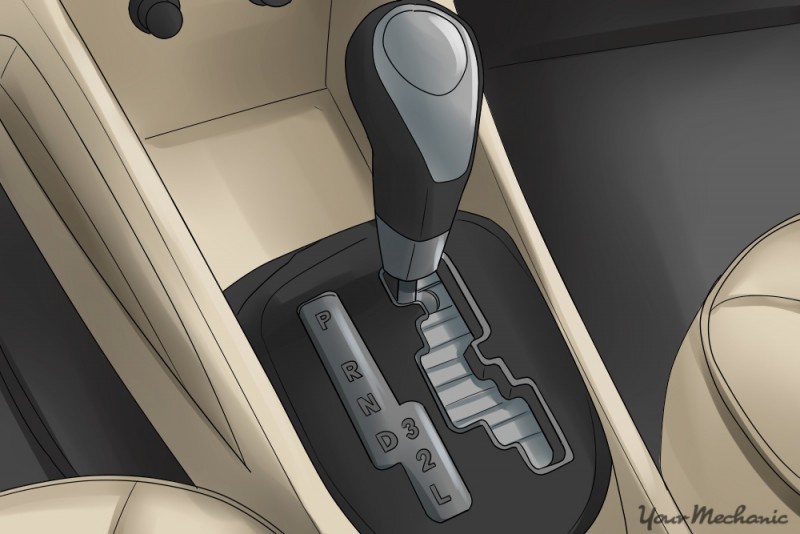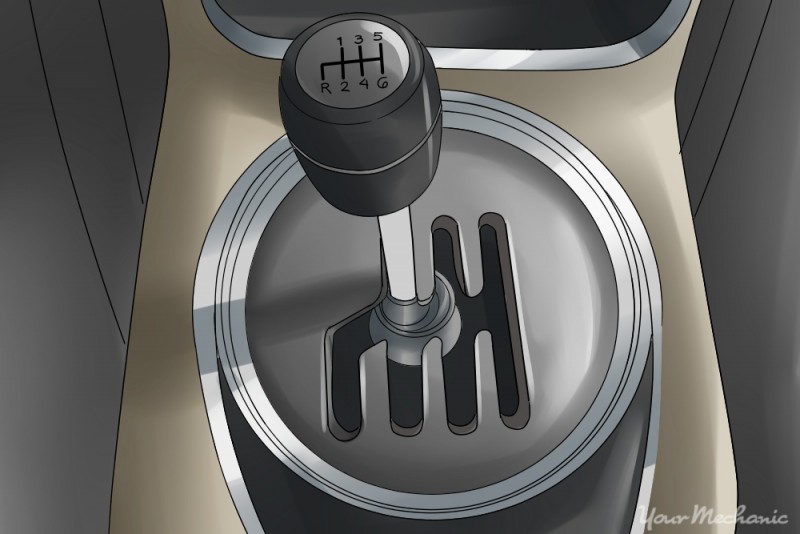
Most vehicles use some sort of transmission to transfer the power generated from the engine, into usable power that can turn the wheels. There are two common types of transmissions used in most vehicles today, automatic and manual. While they both serve the same purpose, and operate in a similar manner, from an engineering standpoint, they are different in the way they operate in relation to the driver.
Automatic transmission shifts gears on its own and is controlled electronically, while manual transmission must be manually shifted by hand and is controlled by the driver. While the two types of transmission differ in their mode of operation, they both transfer the power of the engine into torque for the wheels, and their malfunction can cause problems that may even render the car completely undriveable.
As the transmission is a very important, and highly sophisticated component that is critical to the operation of a vehicle, it is often expensive to replace, or repair once it is faulty. Therefore, it is a good idea to check whether the transmission is not working, before deciding to repair or replace it.
Usually, a problem with the transmission, more so with automatic transmissions, will activate a trouble code that can aid with repairs, however, there are certain cases, especially when mechanical or internal damage has occurred, where the Check Engine Light does not activate. In this step by step guide, we will go over how to run a few basic tests to determine if a transmission is operating optimally. We will address automatic and manual transmissions separately, as their mode of functions differ enough to warrant different tests.

Part 1 of 2: How to know if your automatic transmission is not working
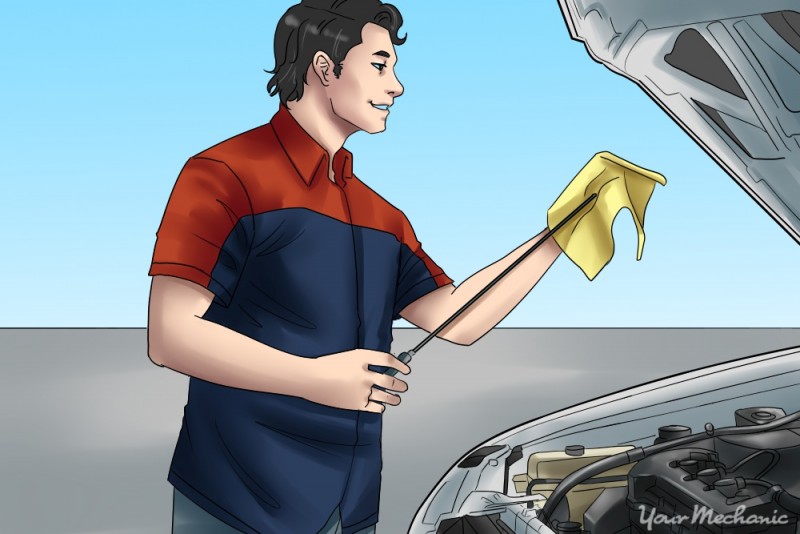
Step 1: Check the vehicle’s automatic transmission fluid. To properly check the fluid, start the vehicle, leave it in park and then check the transmission dipstick found under the hood.
- Tip: If you cannot find the dipstick, refer to your owner’s manual for guidance.
With the engine running, pull the transmission dipstick, and check to see that the transmission fluid is at the appropriate level, and that it is not excessively dirty, or burnt.
Clean transmission fluid should appear a translucent red color.
- Tip: Check to see that the transmission fluid does not smell burnt, or have a darkened, brownish tint to it. A burnt smell, or tint indicates that overheating, or burning has occurred somewhere inside the transmission, mostly at the clutch discs.
- Note: Excessively darkened, or dirty transmission fluid can cause many problems if it is pumped through fine passages and screens when the , as most automatic transmissions operate using hydraulic pressure. If the fluid appears to be dirty, it may be a good idea to change it if the vehicle is indeed experiencing transmission problems as dirty fluid can interfere with the proper operation of the transmission.
- Note: It is also important to note that not all vehicles will have a transmission dipstick to check the transmission fluid level. In fact, there are certain newer vehicles that use a sealed transmission that does not require the fluid to be checked or changed. If you are unsure, refer to the owner’s manual for your vehicle’s exact specifications.
Step 2: Test the brake pedal. Step on the brake pedal with your left foot, and hold it down. Use your right foot to apply some throttle to the engine, revving it up for a few seconds.
- Note: Make sure that the area directly in front of the vehicle is clear and safe, and then set the parking brake.
- Warning: Take care to not rev the engine with the brakes applied like this for more than a few seconds at a time, as doing so could actually overheat and damage the transmission.
If the transmission is functioning correctly, the engine should rev up, and the car should try to move, but will not move because the brakes are held down. If the engine is not able to rev up, or revs up but cannot stay revved, then there may be a problem with the transmission — either with the fluid, or with the automatic clutch discs internally.
Step 3: Drive the car to test the transmission: Once you have conducted the stationary test, conduct a road test that will take the car through all the gears.
- Note: Before you drive onto an open road, put the car into reverse and make sure that the reverse gear is working properly.
Drive the vehicle up to the posted speed limit while paying attention to the behavior of the vehicle. When starting and while accelerating, pay close attention to how the vehicle shifts gears.
Alternate between light and heavy acceleration, and pay close attention to the behavior that the vehicle exhibits when it shifts gears. If the transmission is functioning correctly, the vehicle should shift on its own, smoothly, and at reasonable mid to low rpm if the throttle is applied lightly. Conversely, it should hold to a higher rpm before it shifts when the throttle is applied heavily.
If the vehicle exhibits irregular behavior during acceleration,, such as early or late shifting, hard jolts or loud noises during shifting, or perhaps a complete inability to shift, then it is likely to have a transmission problem. It is also important to take note of any abnormal noises or vibrations that occur during shifting or accelerating, as this could also indicate a potential problem with the transmission.

Step 4: Perform a curb test. Drive the vehicle perpendicular to a curb, such as a sidewalk, and then set the front tires to rest up against the curb.
- Note: Make sure that the area in front of the vehicle is clear and safe.
From a rest, apply the throttle and slowly inch the vehicle’s front tires over and on to the curb. The vehicle should be able to climb over the curb on its own, with the engine rpms revving up and holding steady until it climbs over.
- Note: If the engine rpms falter, and the vehicle cannot climb the curb, then that may indicate that the transmission may be slipping, or perhaps may be experiencing another problem.
Step 5: Proceed with repairs if needed. Once all tests have been conducted, proceed with whatever repairs, or actions are necessary. If you are unsure about what to do, it may be a good idea to seek a professional opinion, as transmission related repairs can sometimes be a considerable expense.
If the transmission is slipping while accelerating or if you hear whinning sounds when the car is in gear, it is imperative that you have the transmission assessed by a certified mechanic such as such as one from YourMechanic.com and get the problem fixed immediately.
Part 2 of 2: How to know if your manual transmission is not working

Step 1: Check the transmission when the vehicle is stationary. Start the vehicle, and take it to an open space. Park the vehicle, set the parking brake, then step on the clutch pedal, and put the transmission into first gear.
Listen and feel for any grinding, or other noises when putting the shifter into gear, as that could indicate a potential problem with that particular gears’ synchronizer.
- Note: If a transmission gets to the point where it grinds, or clicks every single time you put it into gear, then that may be a sign of an excessively worn synchronizer gear that may possibly require an overhaul of the transmission.
Step 2: Release the clutch pedal slowly. Once the transmission is in first gear, step and hold down the brake pedal with your right foot and slowly begin to release the clutch pedal. If the transmission and clutch are functioning correctly, the engine rpms should begin to drop, and the vehicle should begin to shake until it eventually stalls. If the engine doesn’t stall when you release the clutch pedal, that may be a sign of a worn clutch disc that may need replacing.
Step 3: Drive the car. Once the stationary test is complete , take the vehicle on an open road to conduct a road test. Drive the vehicle up to the speed limit, as you normally would, and shift through all of the gears in sequential order. Shift up through all the gears several times, and if you can, downshift into each gear as well. Also, try to alternate between shifting at higher and lower rpms, as shifting at different rpms will put different loads on the transmission, further increasing the conclusiveness of the test.
If the transmission is functioning properly, you should be able to upshift, as well as downshift, through all the gears, and at all engine speeds, without any grinding. If any grinding or clicking noises occur when you shift into one or more of the gears, or if the transmission does not stay in gear, then that may indicate a problem with the transmission, the transmission synchronizer gears located inside the transmission, or perhaps with the transmissions master and slave cylinders that are responsible for disengaging the clutch.
Step 4: Proceed with repairs if needed. Once all tests have been conducted, proceed with whatever repairs or actions are necessary. As transmission problems can sometimes be difficult to diagnose correctly. You may have to enlist the help of a certified mobile mechanic, such as one from YourMechanic to perform further diagnostics if you feel slave cylinders needs to be replaced,hear grinding, or if you are unable to change gear.
Testing a vehicle’s transmission is usually a very simple procedure that is mostly done by driving the vehicle. If the vehicle fails any of the tests, or displays any other potential causes for concern, it may be a good idea to seek a second opinion from a professional technician to check and replace transmission fluid.
